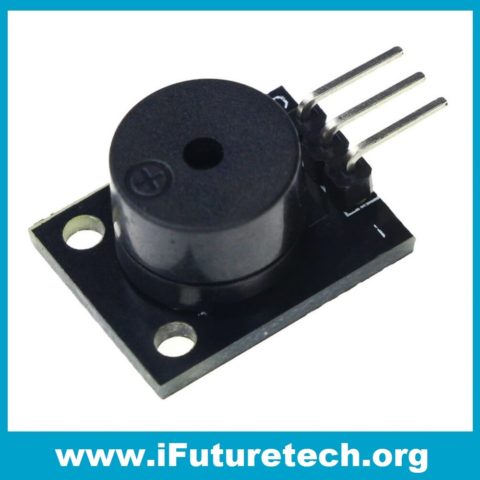
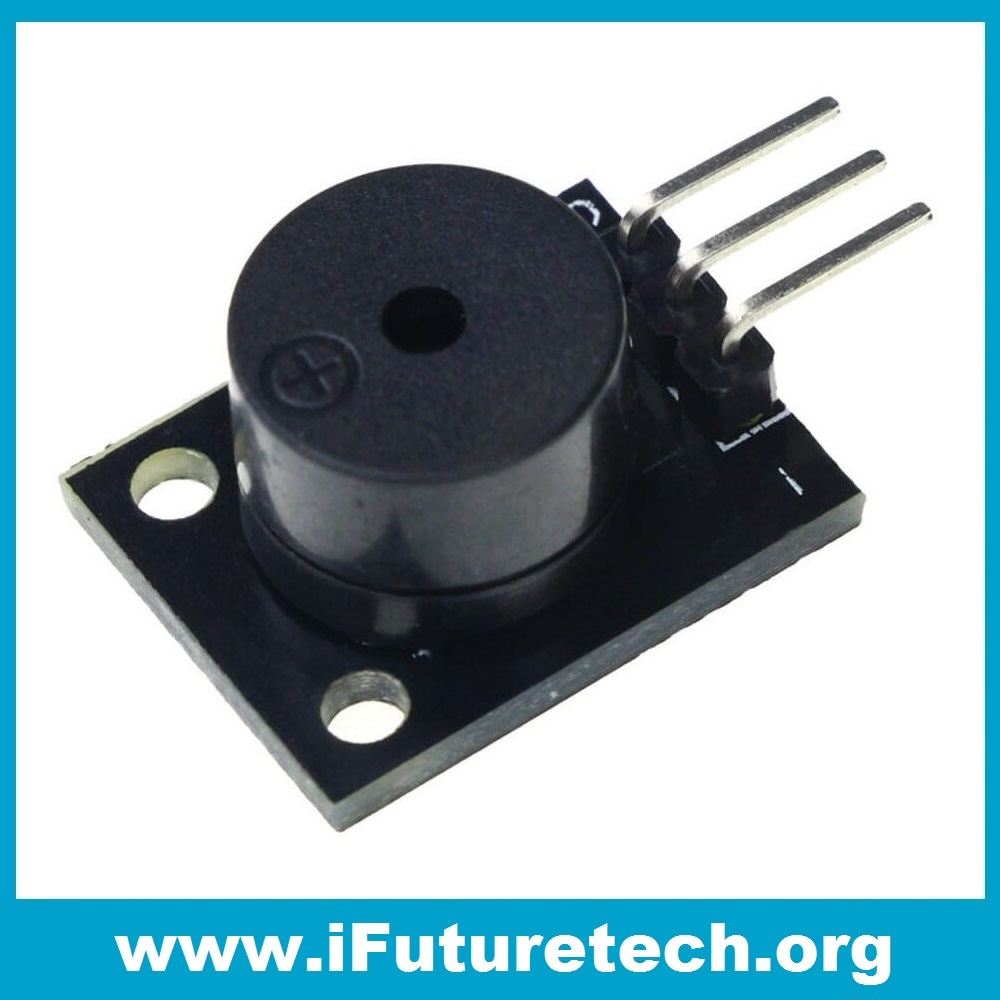
Passive Buzzer:- Device or speaker, you have to send it an AC “sound signal” and you can control the sound. The Arduino needs to generate the “tone”. With enough hardware & software you could make it play music. etc. The only downside (besides a bit of extra programming) is that it takes processor-time to generate the sound. This could be an issue if your program (sketch) is doing lots of other things at the same time. (It shouldn’t be an issue in your application.) A piezo speaker can be driven directly from the Arduino (probably with a series resistor). A regular (voice coil) speaker takes more current and it needs an amplifier. Arduino Passive Piezoelectric Buzzer Module Keyes KY-006, it can produce a range of sound tones depending on the input frequency.
Active Buzzer:- buzzer generates the sound itself. So, you can simply turn it on & off with an Arduino pin, just like you turn on & off an LED. However, most buzzers require a bit more current so you’ll need a MOSFET to boost the current/voltage. (I have a “ding dong” device as a pre-alarm on my home & car alarms. These work just like a buzzer… You give it 12V and it makes noise.)
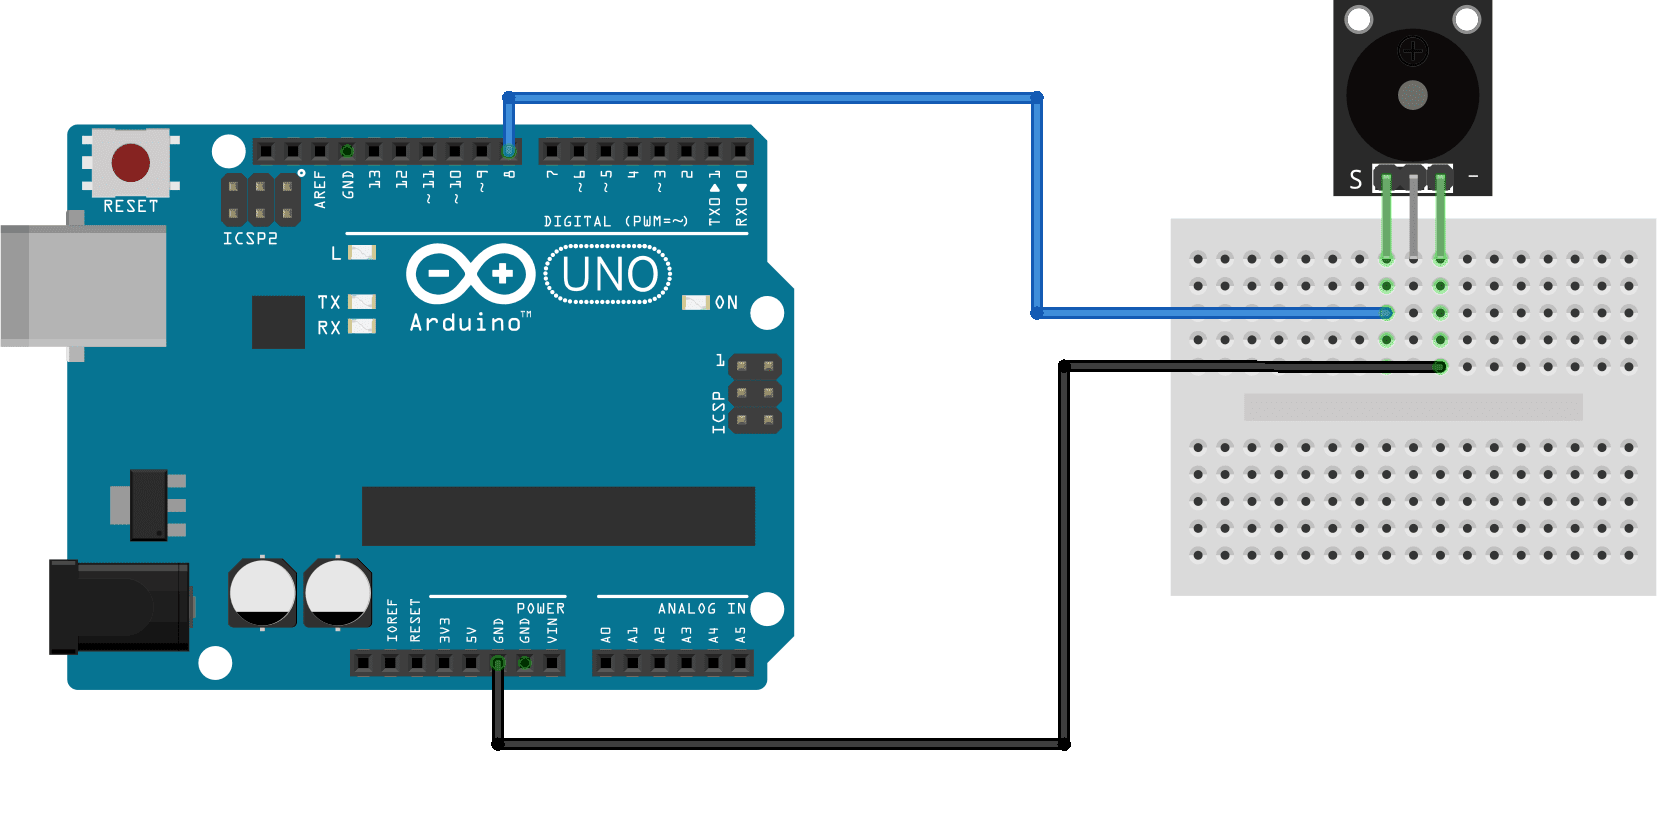
The following Arduino sketch will generate two different tones by turning on and off the KY-006 buzzer at different frequencies using a delay.
int buzzer = 8; // set the buzzer control digital IO pin
void setup() {
pinMode(buzzer, OUTPUT); // set pin 8 as output
}
void loop() {
for (int i = 0; i < 80; i++) { // make a sound
digitalWrite(buzzer, HIGH); // send high signal to buzzer
delay(1); // delay 1ms
digitalWrite(buzzer, LOW); // send low signal to buzzer
delay(1);
}
delay(50);
for (int j = 0; j < 100; j++) { //make another sound
digitalWrite(buzzer, HIGH);
delay(2); // delay 2ms
digitalWrite(buzzer, LOW);
delay(2);
}
delay(100);
}
Additional information
| Weight | 10 g |
|---|---|
| Dimensions | 20 × 15 × 15 mm |

Reviews
There are no reviews yet.